Introduction
NameCoach is a tool designed to help instructors and students learn how to pronounce the names of the people in their classes and use their gender pronouns. Use it to record your own name and to listen to name recordings made by others.
Once you record your name, the recording is available via the NameCoach tool in all courses. By enabling instructors to easily and more accurately learn student names and pronouns, NameCoach can help instructors build better rapport in the classroom, bolstering students' sense of belonging.
How To Access NameCoach

Your Account Profile
From your NameCoach dashboard
From Gateway, go to the Navigation Menu and locate NameCoach under the Quick Access Links, and access your dashboard. You can also find it by using the Navigation Menu search function.

In your Canvas account profile
Access NameCoach by visiting your Canvas profile and clicking on NameCoach. (Alternatively, you may also access the tool from the course navigation of any Canvas course, explained later in this article.) Once you record your name and indicate your pronouns, regardless of whether you do so through your profile or through a course, they will be saved across all of your courses.
- Click on "Account," then "NameCoach Recording Tool" in the pop-up menu.
- In the NameCoach window, you choose your pronouns.
- You will be prompted to choose how to record (on the web or by phone). Go to How to Record to learn more about the options.
Your Canvas Course
In Your Canvas Course Menu
- From any course, click on "NameCoach" in the left-hand navigation. NOTE: If NameCoach isn't enabled in your course, please contact your instructor.
- On this screen, you can record or re-record your name. You can also listen to recordings from students enrolled in your course and see who has not yet recorded their name.
- Once you record your name, it will appear in every Canvas course you are enrolled in. If you edit your recording, it will be updated throughout the system.
How to Record
Record from your phone
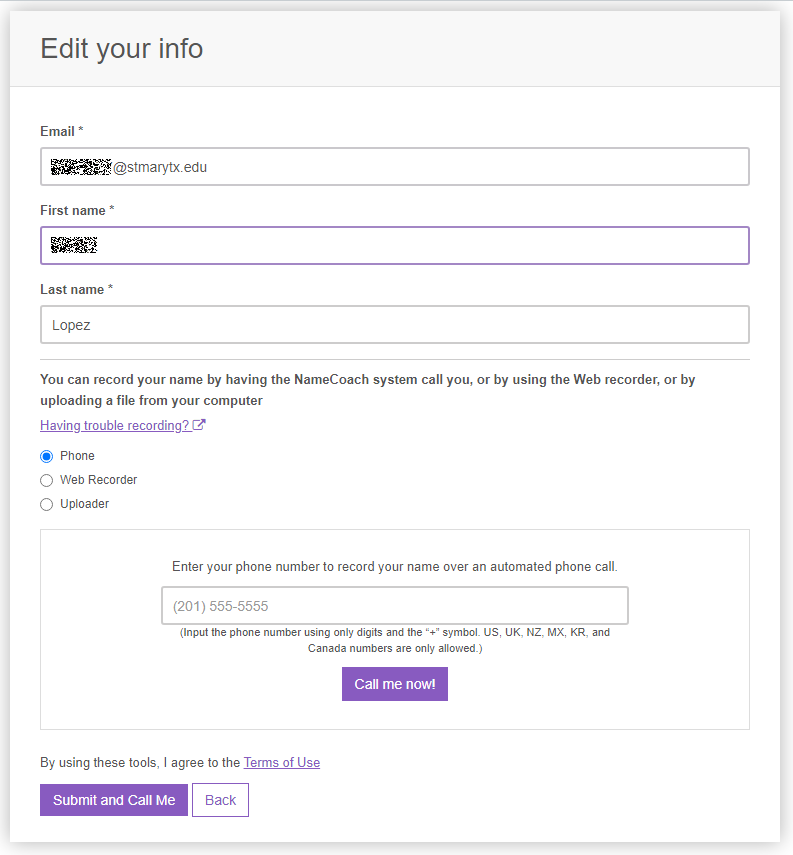
If you select phone, you will be asked to enter your phone number. Note: NameCoach does not save this data.
Enter your phone number in the box provided, then click "Submit and Call Me". NameCoach will call your phone and will prompt you with instructions. You will be able to listen to your recording and re-record if you wish. After you complete the call, go back to the NameCoach page in Canvas and click "Submit and Finish" to save your recording.
Record on the Web
If you select web recorder, you will be prompted to use your computer's microphone to record your name.
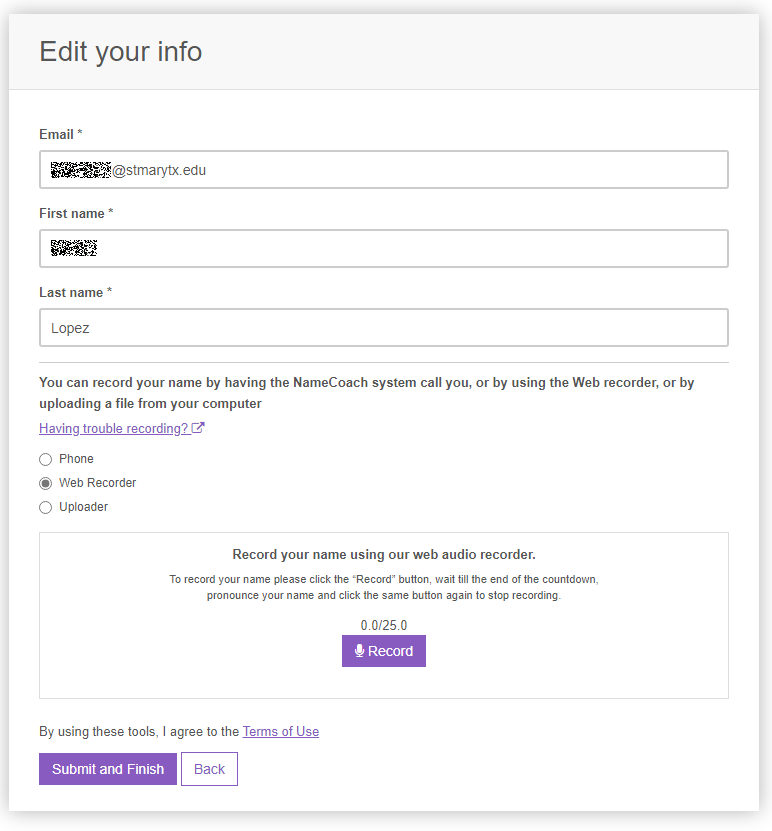
Click the "Record" button. A pop up may show asking you to allow Canvas to use your microphone. Click "allow".
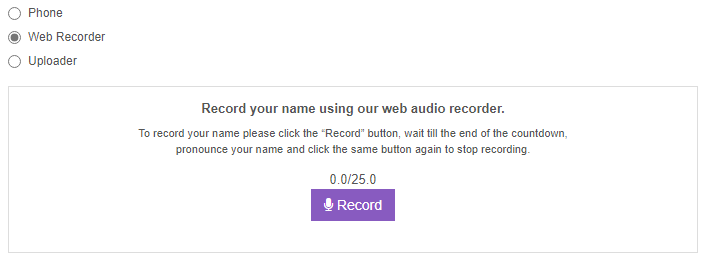
Wait for the prompt before speaking. When finished, stop the recording, then click "Submit and Finish".
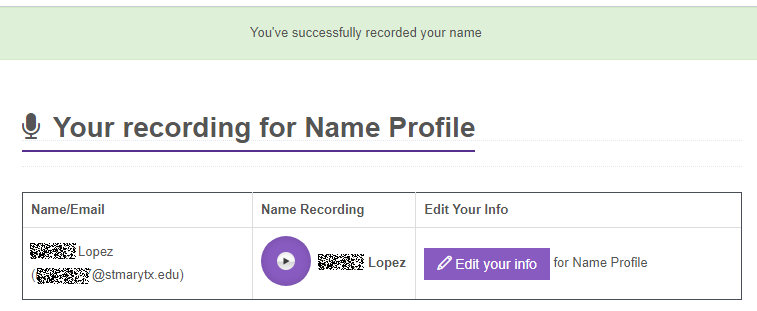
After you submit, you are able to hear your recording and re-record if you would like.
Upload a Recording
If you select, uploader, you will be prompted to drag a file into the box or browse for a file. Then select "Submit and Finish".
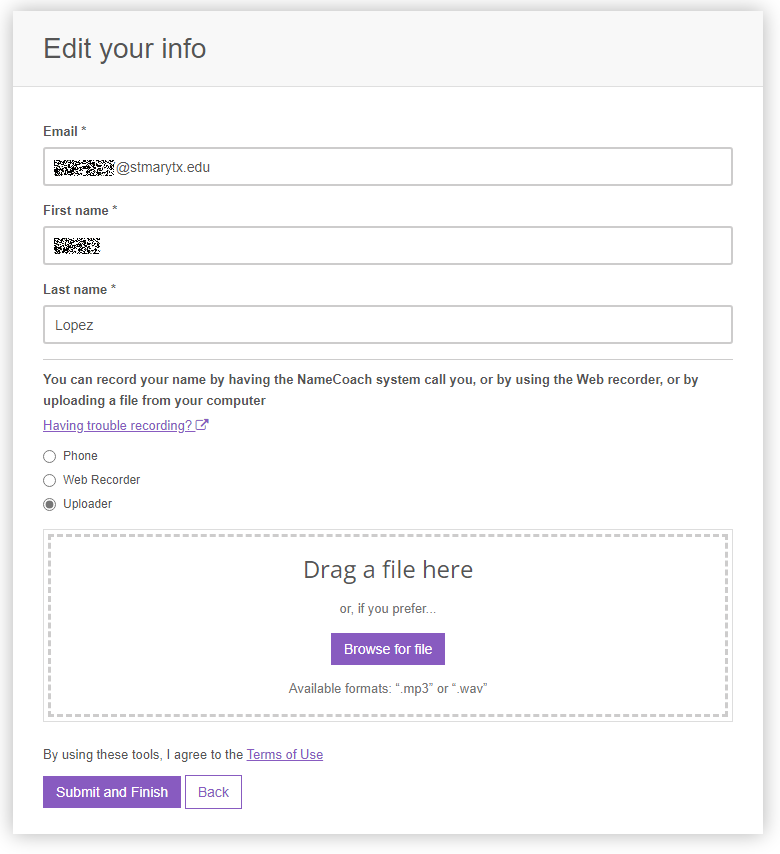
Record from your Canvas Course
To make a recording from your Canvas course navigation menu, follow these instructions.
Click on "NameCoach" from your navigation menu. Canvas will require your authorization to allow Namecoach to access your Canvas course. Click "Authorize" to continue.
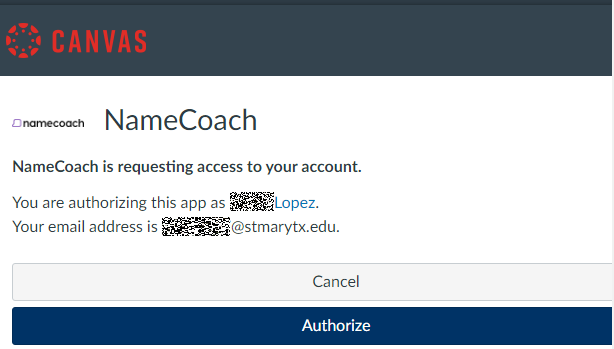
If you have not recorded your message, you can refer to the previous options to record a message.
After recording, your name will have a circle with an arrow icon which is the play button. You can always click on the update button to re-record your name.
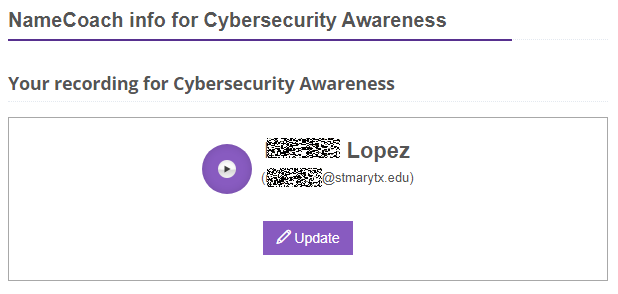
Your Email Signature
Add Namecoach to your Signature in Outlook
From Gateway, go to the Navigation Menu and locate NameCoach under the Quick Access Links.

You now have access to your Dashboard in NameCoach
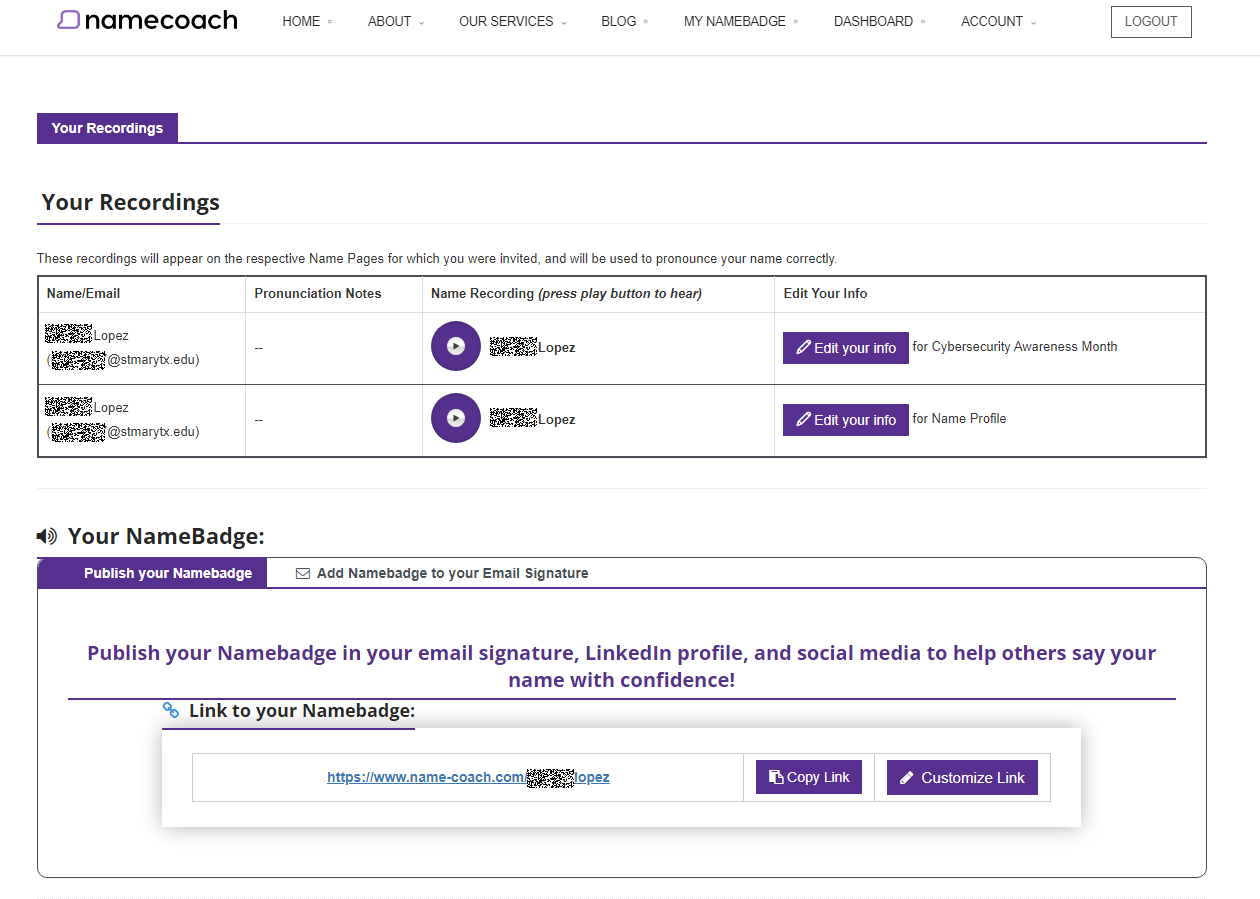
Your NameBadge
You can modify your NameBadge adding your picture (not required) any pronunciation notes or gender pronouns.
Select MY NAMEBADGE option at the top navigation menu in NameCoach to customize your NameBadge webpage that you can link to in your email signature.
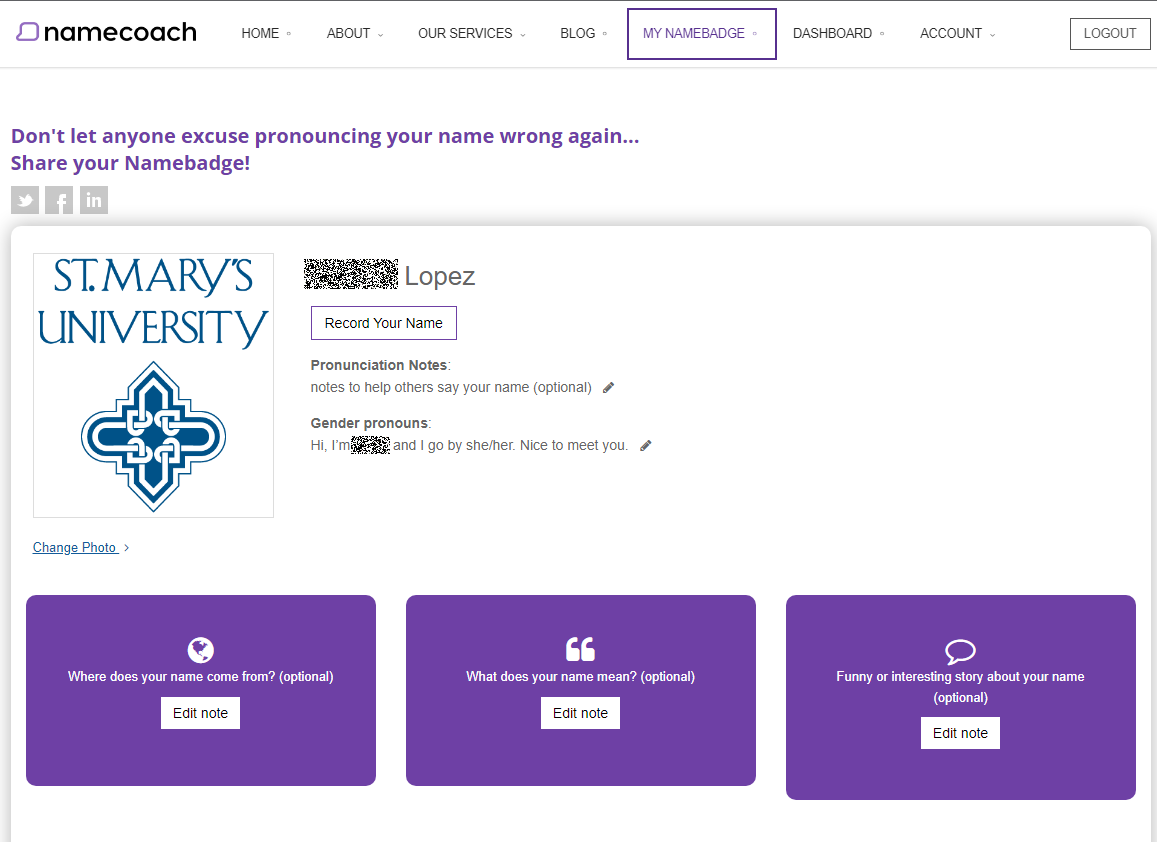
There you will be able to add features such as a profile picture, the origin of your name, the meaning of your name, and even a funny/interesting story about your name.
You can Switch to Preview mode to review your batch as is going to be presented to others
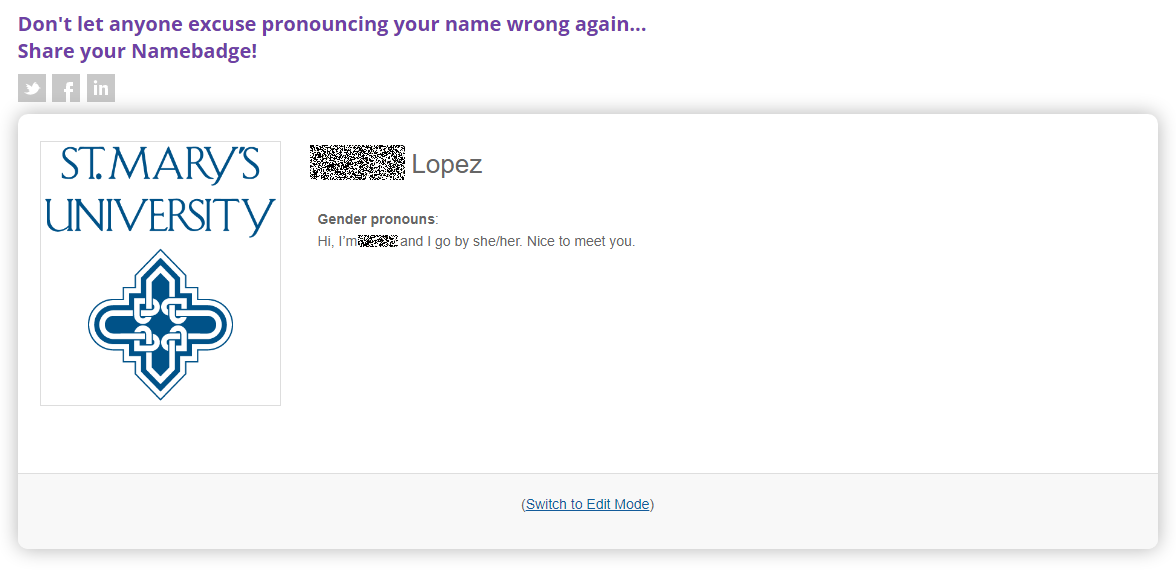
After you have added a picture (not required) or any notes you wish to share, you are ready to let others view your NameBadge.
Add your NameBadge to your Signature
Option 1
After customizing your information will find various options on how to add your NameBadge to your email signature:
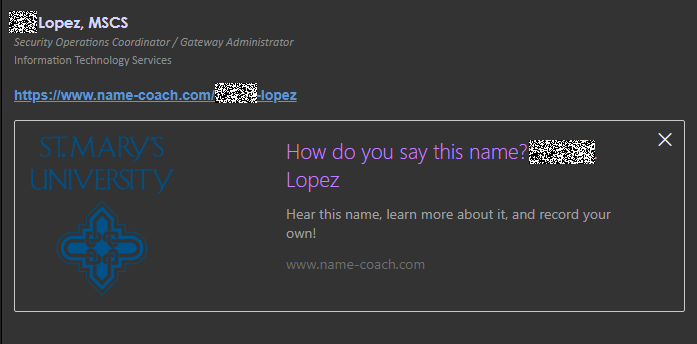
Copy and paste the link provided under "Publish your NameBadge" and add it directly to your email signature

If you choose this method you will need to access your signature on your chosen application to receive email. For the purpose of this example we will use Outlook web client as example.
Once you access your signature you can paste your link directly by first pressing the Copy Link button in Name coach and pasting in your signature:
Option 2
Click on "Add NameBadge to your Email Signature" where you will be given two different button choices to add to your signature that will also act as direct links to your NameBadge webpage.
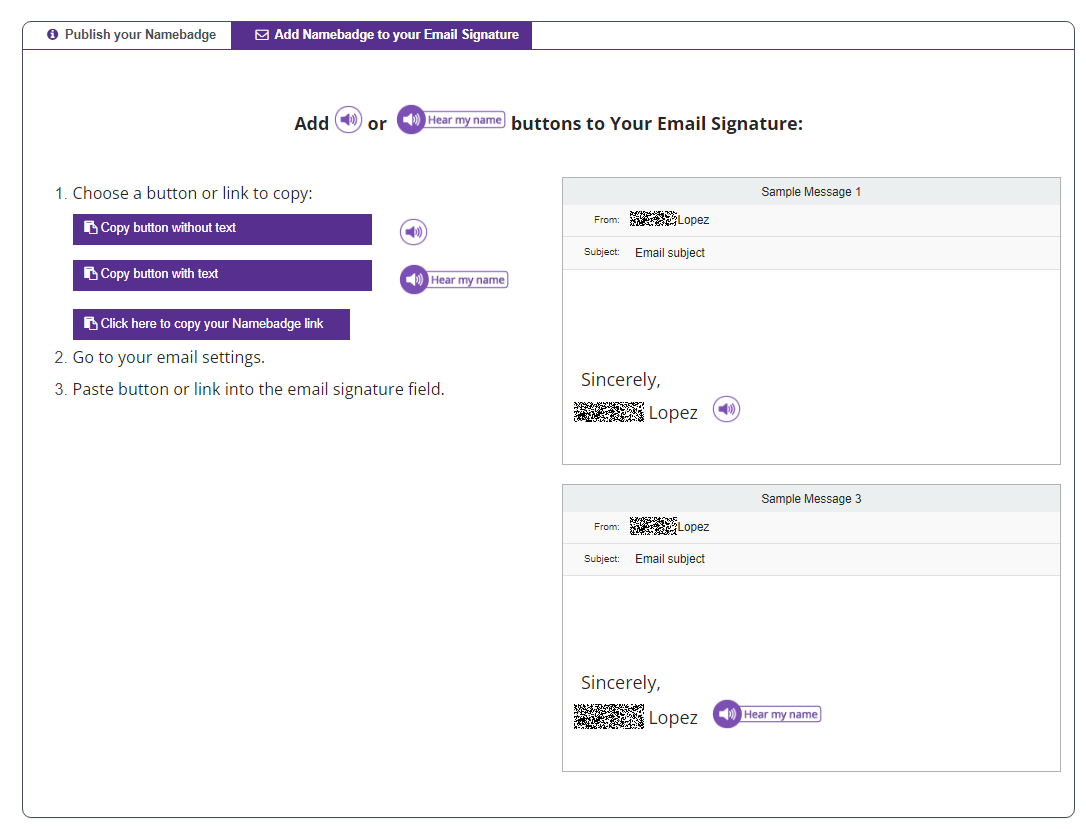
Choose which style of button you would like to use and click on the "Click here to copy this button to clipboard" button and then go to your signature and paste it:
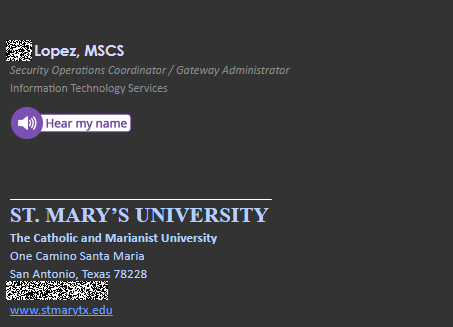
You now have a functioning button in your email signature for your NameBadge.